August 13, 2024/
No Comments
Our HRM software in Chennai boasts a centralized database that makes it easier to track and utilize human capital effectively. …


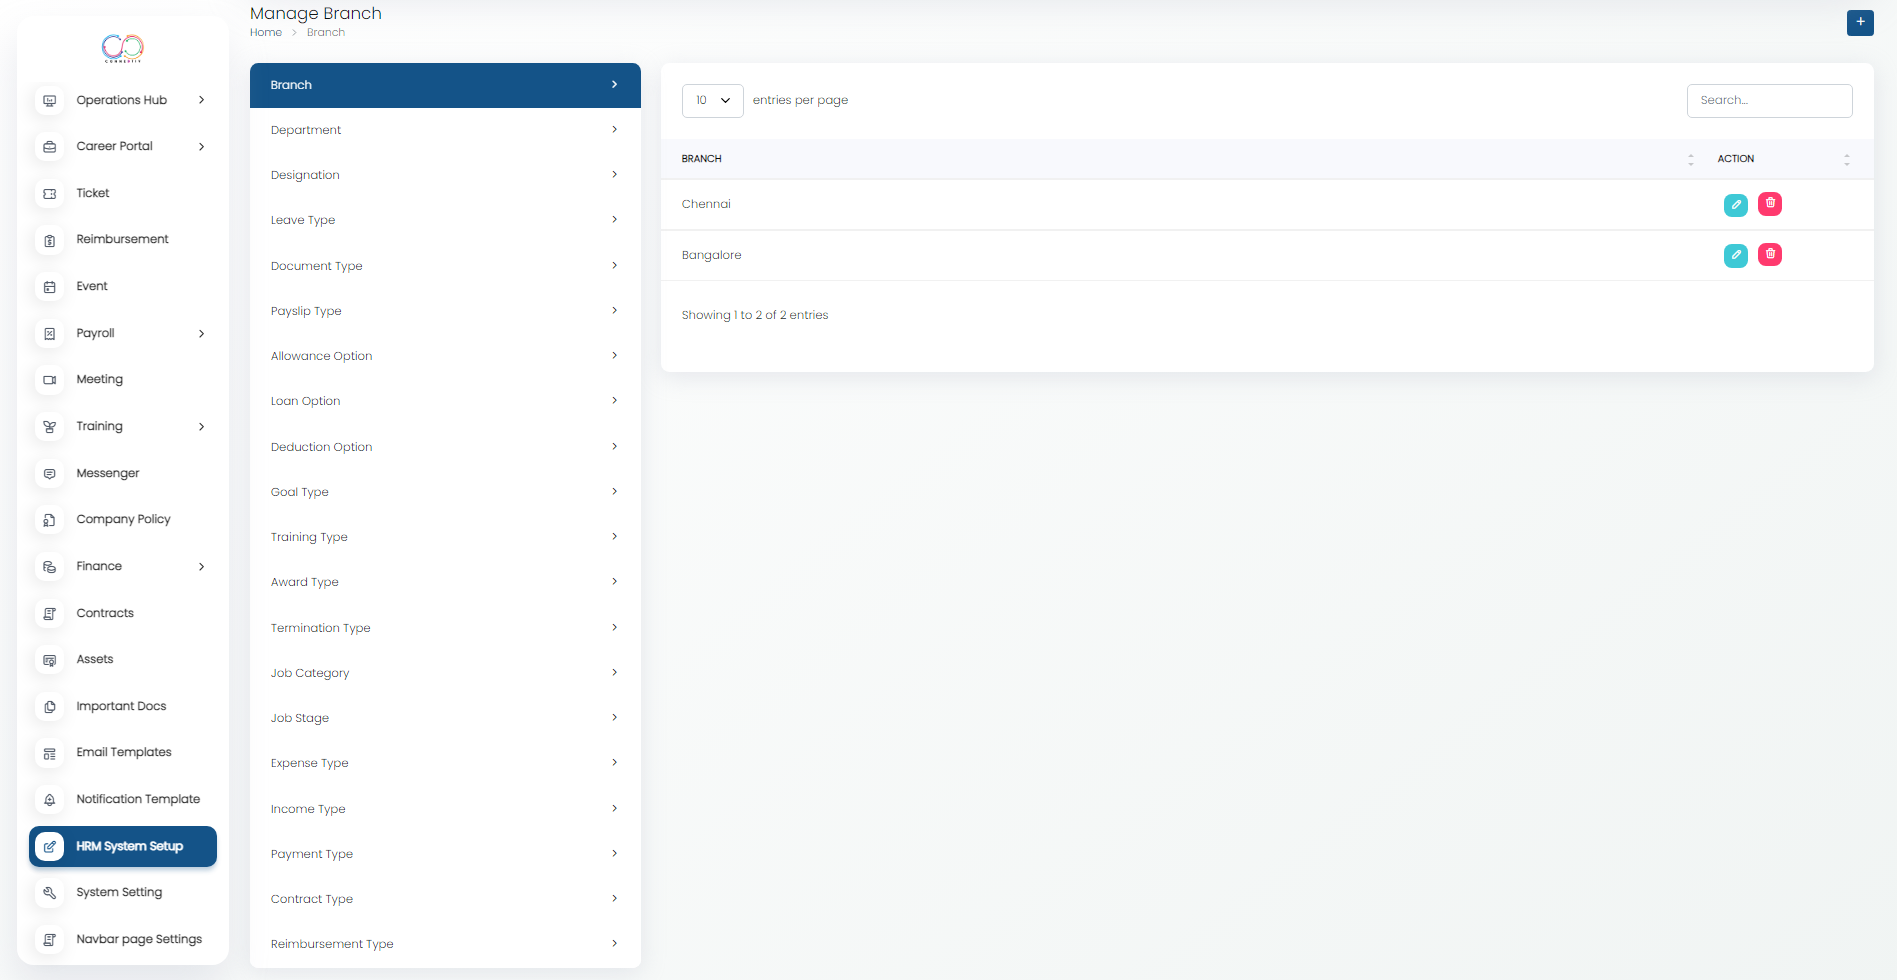
Our HRM software in Chennai boasts a centralized database that makes it easier to track and utilize human capital effectively. …
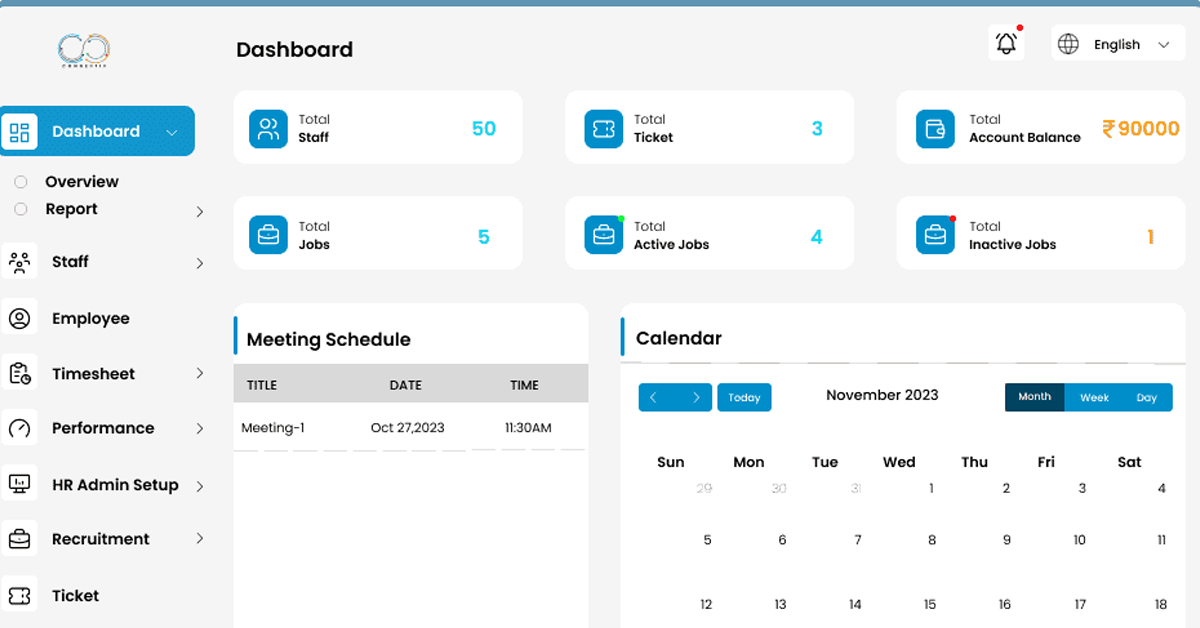
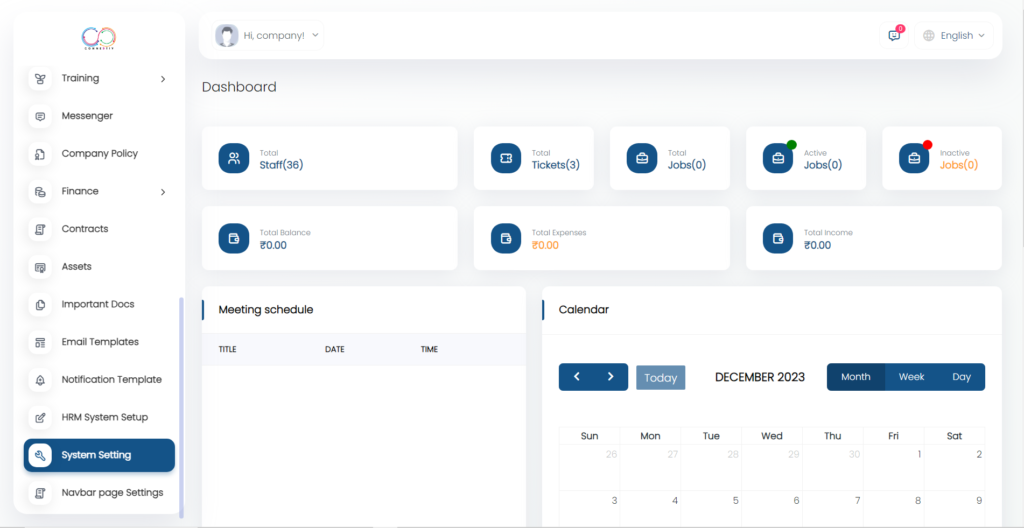
Introduction Daily report generation is a critical aspect of managing any organization. It helps track performance, monitor progress, and make…
User-Friendly Interface A simple, user-friendly interface ensures both HR professionals and employees can navigate the system with ease, reducing the…

Internal chat functionality is a crucial feature in HRM software, seamlessly connecting the entire organization. With the use of a…
Valuing Individual Contributions Performance management software is essential for fostering an ethical workplace by recognizing and valuing each employee’s contributions.…